Plotter drawing: don't forget the tool
- Arnaud Pfeffer

- Feb 29, 2020
- 5 min read
Are you out of inspiration for your next creation? Do you feel like you have tried everything with the drawing machines? Today, I suggest you think differently about plotter drawing. We are not going to talk about code, but about graphic tools.

Fabienne Verdier's tools
I don't know how to code and I take little pleasure in drawing on my computer. Nevertheless, I draw almost daily with a plotter. I am passionate about printing processes. I have worked in a printing company and explored different reproduction techniques: offset, screen printing, 3D printing of all kinds.
Each process has its own aesthetic, its own signature. Whatever the image to be produced, it will always be altered by the printing process used.
So, what interests me particularly about plotters is the freedom we have to decide which tool we can use, and therefore which signature we want to give to our production.

Ready?
If you work with a plotter, you'll be able to influence three parameters:
the path
the graphics tool
the support
I'm going to focus here on the last two points.
Choosing your tool
Each tool has its own signature. The same two plots will not look the same at all if you do it with Rotring or charcoal.
Be curious when you choose your tool. Leave the pen and let yourself be surprised by thick, beveled, flat, textured tools - anything you can get your hands on!

Hans Hartung's process
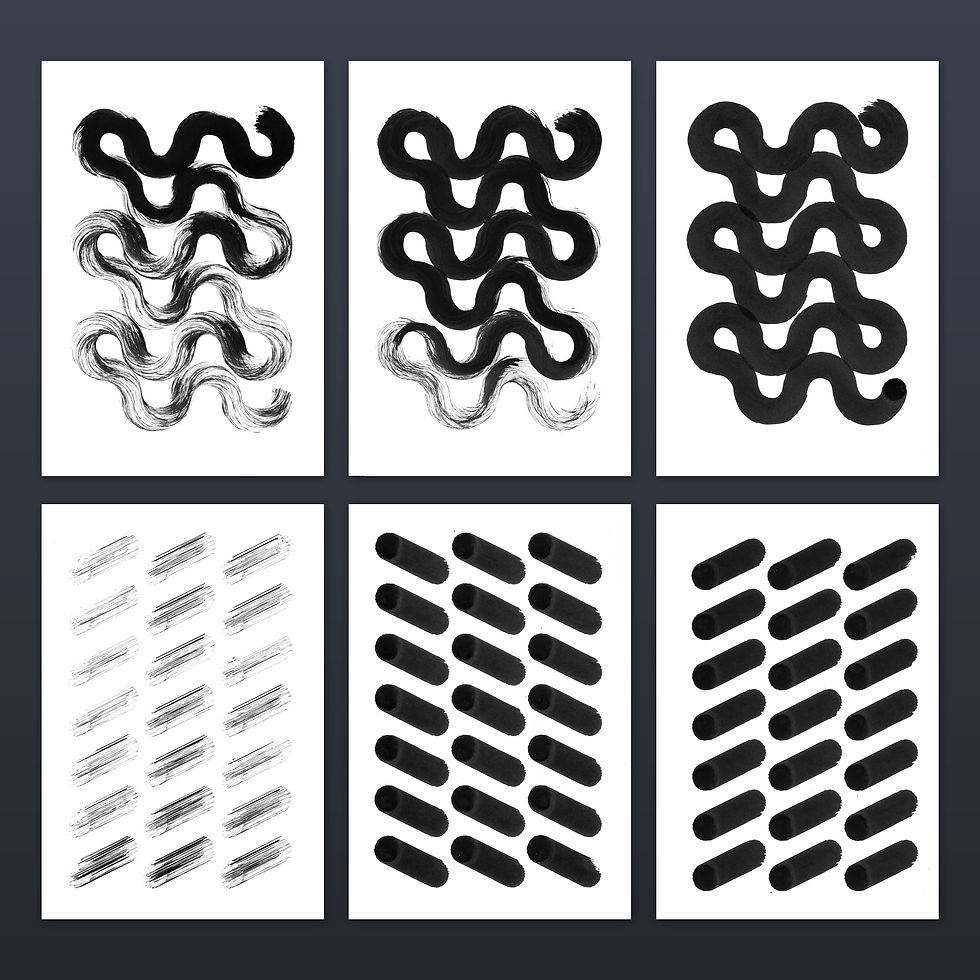
For this tutorial, I'm going to introduce you to three tools that I particularly like: the foam brush, the water brush and the pastel crayon. I will also show you how the choice of these tools affects the way I work.

Understanding your tool
Each tool involves thinking differently about the way you draw. Take into account their characteristics as soon as you draw your plots on your computer in order to highlight these specificities.

For example, the trace of a flat brush is not a point, but a line. By translating, it will therefore draw a rectangle.
To preview these effects, I work on software like Rhinoceros 3D, which offer the possibility to make a great number of operations on the curves.
Take your plot and create a line corresponding to the width of your brush. Put this line along your plot (with the inclination you want to put it on the plotter!).

Enter "Arraycrv" and select your line and then your tool. Then, in the window, apply a relatively low distance to view the tool trace (here 1mm) and make sure you have checked "No rotation" otherwise your tool can rotate around its axis.


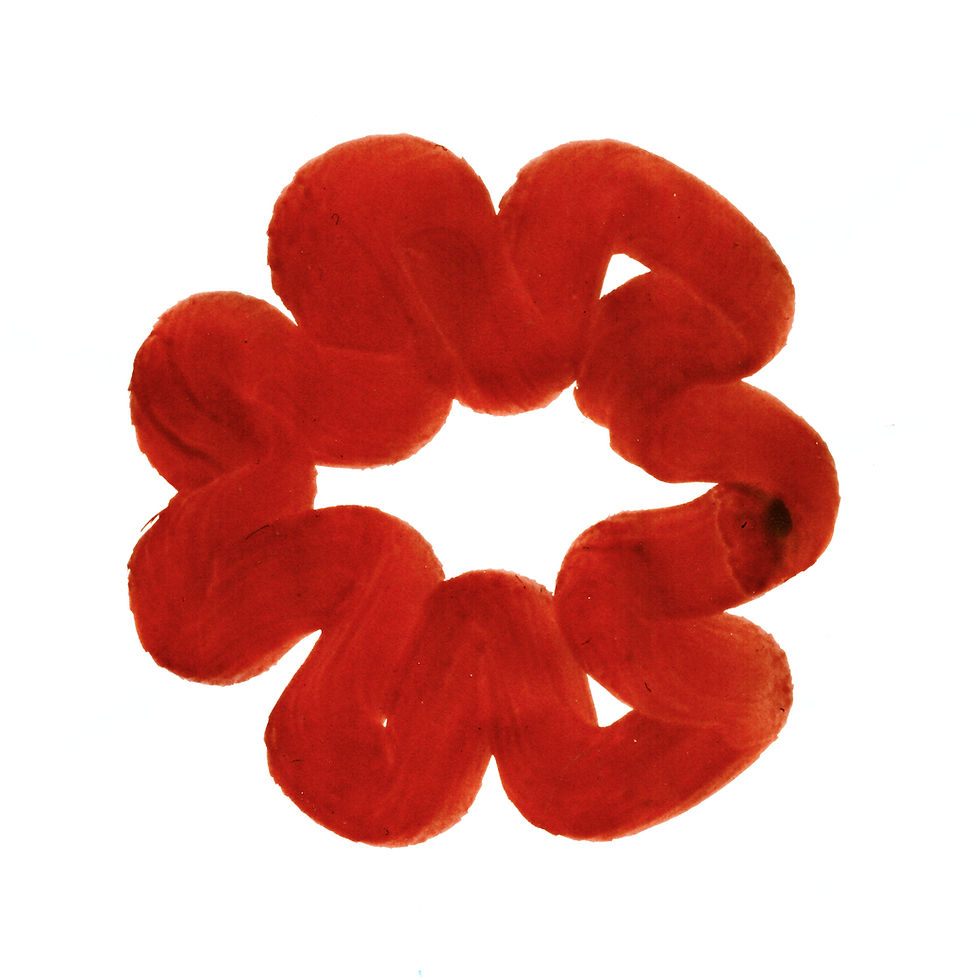
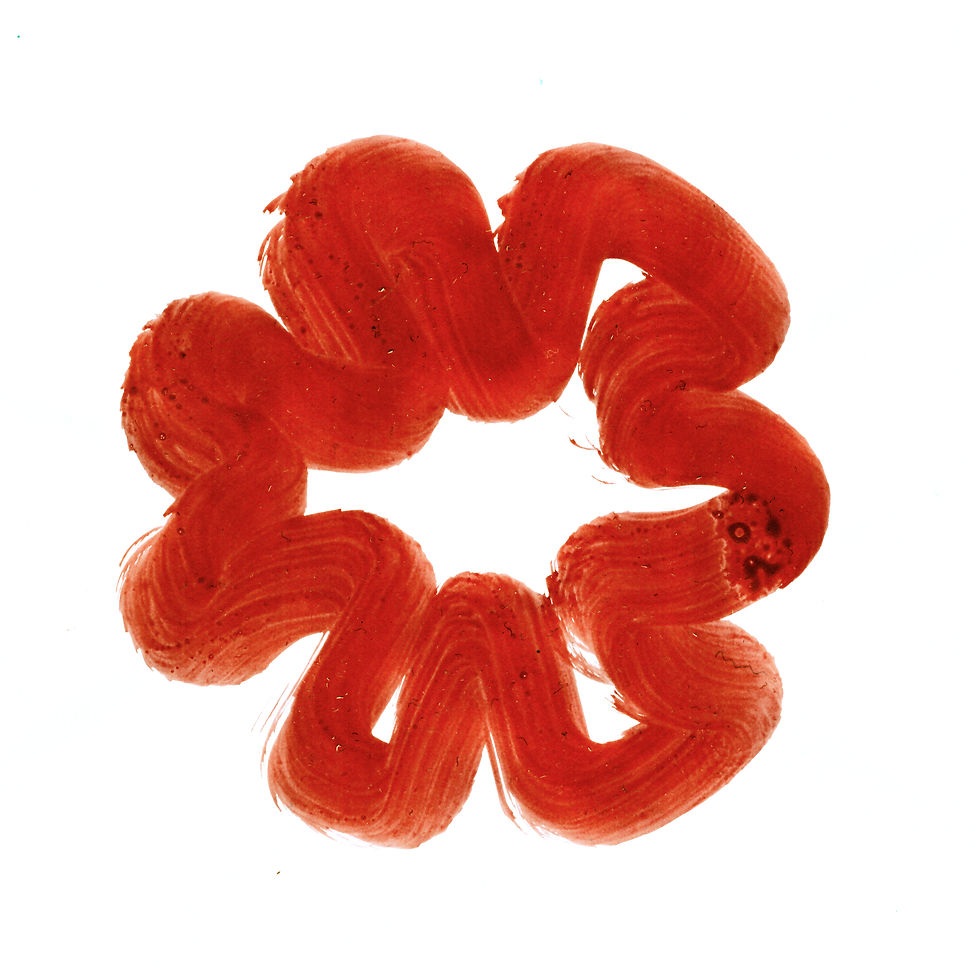
Another example, by working with diluted acrylic ink and a brush, you will be able to superimpose the layers and vary the intensity of the colors during the same plot.

To do this, you can measure the tip of your brush and apply an identical curve offset to your plots. In this example I am working on a shape gradient :
Create your starting and ending shape

Use the shape gradient function on Illustrator and click on your starting shape and then your ending shape. This will generate a shape gradient. You can change its properties by pressing an "enter". In the window that appears, set your step to "distance" and indicate the line thickness of your tool as the distance between each stroke.

Play with the limit
Once you understand the parameters that govern your tool, it's time to push them to the extreme! Testing the limits of your tools will allow you to let yourself be surprised, and to create truly unique proposals.
For example, a pastel crayon erodes as you draw. From this statement, what happens if you superimpose different colors in a pastel?

To test it, shut down your computer and go to your kitchen!
Pastel melts very easily. You can create your own colors by cutting and superimposing different layers of pastel (full tutorial here).
The resulting tool gives a random result, where the colors mix and overlap.

You can imagine the same process by superimposing layers of ink in the tank of your brush. The color will then change as you draw. To keep control over this evolution, remember to check the order in which your plotter draws the different lines. You can check this easily in Adobe Illustrator.
In the Layers tab, unroll the contents of the layer containing your drawing to reveal the sublayers.

The plotter will draw each sublayer in order, starting with the one at the very bottom of the list. You can check if the layers are in the right order by hiding one by one the sub-layers. If this is not the case, you can reposition them manually.
Finally, if you notice that your drawing is printing in the wrong direction, you can select all the sub-layers, then click on the menu "≡" > "Reverse Order".

As you will have understood, each tool implies to draw your paths differently. Make your own tests with the tools you have chosen!

Bernard Frize's process
Changing the support
Of course, the other parameter that we can influence your drawing is the support on which the machine will draw. Each support has different properties: roughness, ability to absorb or not the ink deposited, etc.
If we focus on paper, there are a multitude of categories.
The combinations of the tool and the support are infinite and will lead to a different result every time!
For printing paper, we can distinguish two main families: coated and uncoated papers.
Coated paper, i.e. paper covered with a thin mineral layer (usually plaster). It is a paper that will absorb very little ink. The ink will then remain on the surface and keep its shine and the details of the tool that applied it. On the other hand, it will take a long time to dry and will come off with time.

Conversely, when using uncoated paper, such as printer paper, the ink will be absorbed very quickly. The ink will hold better over time but will have a duller appearance.

There is no ideal paper, it's up to you to find the one that suits you best for your projects! As for me, I work a lot with satin uncoated paper, to keep the sharpness of my drawings. To accentuate this sharpness, I add acrylic binder.

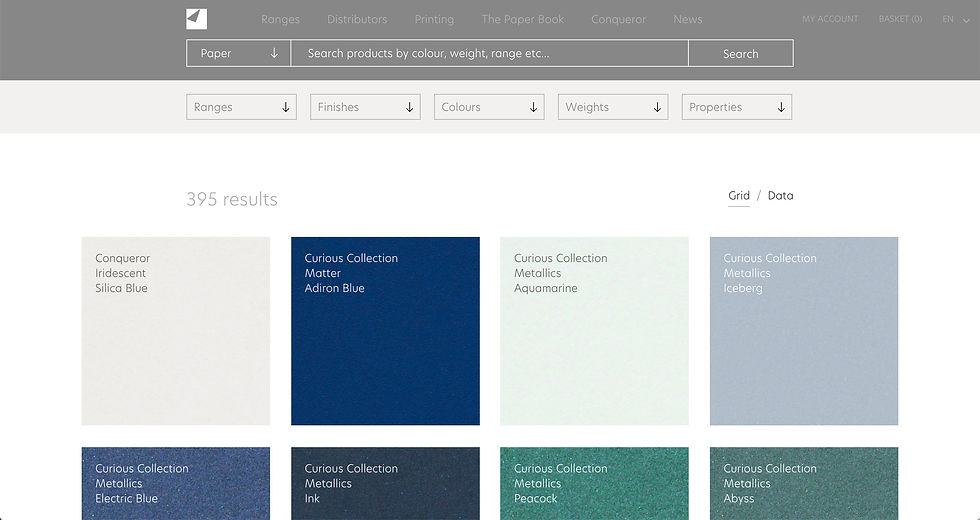
I also like to be surprised by more unexpected types of paper, which I find at suppliers such as Arjowiggings.

Make your own choices
You got it, drawing machines open up a much wider universe than pure digital drawing. The exploratory field is also very vast from a material point of view.
There is no single solution to produce your creations. Test different combinations, let yourself be surprised by the unexpected and highlight errors, they will bring another reading to your creations!

Share your experiments on #generativehut
My name is Arnaud and I'm an industrial designer living in Paris.
You can see all my work on Instagram: @arnaudpfef
I am passionate about printing processes (offset, silkscreen, risography, 3D printing of all kinds) and digital modeling. This naturally led me to experiment with drawing machines, which are now one of my most used tools.
My approach consists in exploring this link between the material and the digital. I seek to propose a dialogue between these two universes, in order to highlight their singularity.


A creative and insightful perspective on plotter drawing tools and techniques. It’s refreshing to see such attention to detail in a specialized area. https://awkward-media.com/ is the kind of platform that can help creators like this gain more recognition for their unique skills and knowledge.
This post provides a helpful reminder about the importance of tools in creative processes. Small details can make a big difference https://theremedyroom.com/ in outcomes. we encourage attention to detail and thoughtful preparation in every project.
My Aadhaar login offers a smooth and hassle-free experience for users. The portal design is straightforward, allowing easy access without confusion. Security features like OTP verification make it safe and trustworthy. Users can quickly log in and access services such as Aadhaar download, update requests, and profile details. The system performs well most of the time without delays. Overall, my Aadhaar login is efficient and dependable, making it easier to manage identity services online with confidence and convenience.
Access to quality therapy and counseling services in Milwaukee continues to improve as mental health awareness grows. With https://shoresidetherapies.com/ compassionate professionals and diverse treatment options available, individuals can find the support they need to heal, grow, and build healthier, more fulfilling lives.
A cozy home environment often includes comfortable seating. A recliner gives the perfect place to sit back, stretch out, and enjoy quiet moments.